



Introduction
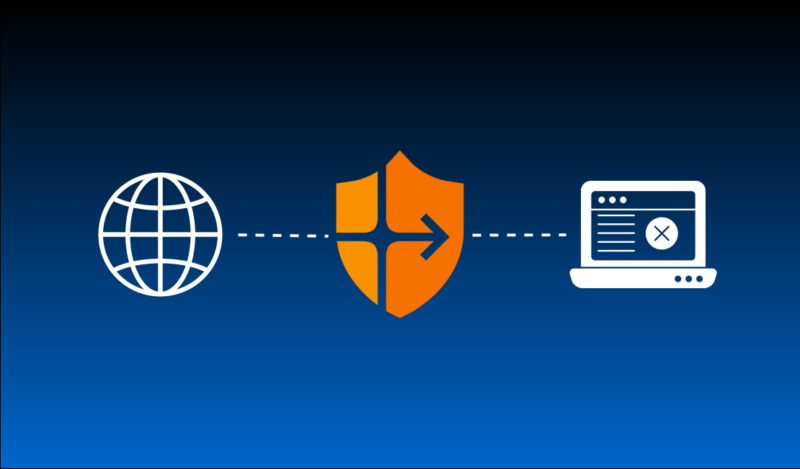
In this day and age of the Internet, it seems odd that there are so few options for custom web content filtering. Fortunately, Cloudflare’s Zero Trust product includes powerful features for this purpose available from a free account; with the caveat that it was made for enterprise clients and can be a hassle to figure out, even for the technically-minded. Since I already went to the trouble, I’m going to walk you through this process.
Cloudflare makes frequent updates to their product features, configuration, and user interface. I can’t say how long these configuration steps will remain accurate, but hopefully they will still help steer you in the right direction if changes are made. I will try to update them as time allows.
Zero Trust Account Setup
From your Cloudflare account dashboard, select Zero Trust in the left menu.

First you’ll need to set up a Zero Trust subscription. Click on the Get started button to begin the process.

The free plan covers up to 50 seats (users), making it suitable for homes and small businesses.

In the subsequent screens you’ll need to provide a payment method to activate the free account. You won’t need to worry about being charged as long as you don’t exceed the 50 user limit. You can then proceed to the Cloudflare One dashboard, which Zero Trust is a part of.

NOTE:
In the past you would be prompted to create a unique team name as part of the account setup. This has changed at the time of writing and Cloudflare now generates one for you by default. The team name and domain can be viewed and edited under Settings.

Add DNS Location
As with many things on the web, Domain Name Service (DNS) is the key to content filtering. Zero Trust provides flexible DNS filtering features to accomplish this.
In the Cloudflare One / Zero Trust dashboard, scroll down and click the Get started button on the “Secure my network with DNS filtering” option.

This will start the wizard to configure DNS filtering for a network location. Click Continue.

Enter a name for the location and provide the public IP address of your network (this will be auto populated with the public IP of the network you are currently logged in from). Click Continue.

For forwarding DNS queries, you have a few options. A simple configuration will use only basic IPv4. DNS over TLS or HTTPS will require your router or other system to support those options, and a DNS query URL will be provided in addition to the IP address.

Next you’ll be provided with steps to point your PC, router, or browser to Cloudflare’s DNS address for your account. This will enable filtering to be applied to your device or your whole network by recognizing DNS requests originating from the public IP you previously provided. If you’re using a different local DNS server for your network, such as a Pi-hole, you’ll need to configure this upstream DNS address there. Once you’re done, scroll down and click Continue.

On the last page, go to the “Explore more with Zero Trust” option to return to the dashboard.

Configure DNS Policy
To start web filtering, you’ll need a DNS policy. In the left menu, go to Traffic policies > Firewall policies, and click Add DNS policy.

Here is where you can see just how flexible the DNS filtering options are. In this case, we will simply create a policy that blocks traffic matching certain conditions. Under the Conditions section, the traffic type will be set to DNS by default. Click on + Add condition.

The primary condition we’ll use in this example is Content Categories. This way we can easily block entire genres of websites based on how Cloudflare has categorized the domain. You can look up particular domains here to see what catagory(s) they have been classified under.

We can add additional options with + And and +Or. Click on + Or and we’ll add another condition to add a specific domain we want to block. You can add as any + Or and + And conditions as you want.

Next we’ll need to set the Action to Block. You can do this under the Then section on the right. This will bring up other useful options such as the Policy schedule if you only want to apply the blocking conditions only during certain times.

Scroll down to the bottom where you’ll see a preview that displays a simple layout of how the policy will work. Provide a policy name (and description if you want) and click Create policy.

At this point, blocking should be in effect for systems on your configured network. Blocked websites will simply show an invalid address error. If you want it to display a proper block page instead, we’ll cover that in a later section.

Use the Cloudflare One Client
Using a DNS location means that your devices must remain within that network in order for the DNS policy to apply. A more flexible option is to install the Cloudflare One client (previously known as the WARP client) on a device and connect it to your Zero Trust account. This way, all DNS queries can be tunneled to your account and policies can be applied regardless of where the device is.
In the Cloudflare One / Zero Trust dashboard, go to Access controls > Overview. Under Recommendations, select “Connect your devices with the endpoint client”.

This will open another wizard. Once you select your operating system and click the download button (this will open in a new tab), the Continue button will be clickable.

By default, enrollment of devices with the Cloudflare One client are authenticated via email. On the next step, you can define email addresses that are permitted to enroll devices for your account. The email address associated with your Cloudflare account will be auto populated.
You can use the same email to enroll multiple devices.

For the service mode, you can choose to send all of your device’s internet traffic over the tunnel (effectively a VPN to your Cloudflare account), or send only the DNS requests. If you’re unsure, leave the defaults.

For default routing you can further define how you want traffic from your devices handled. Leave it on Exclude mode if you’re not sure.

You only need to worry about split tunnels if you selected Include mode in the previous step. Otherwise scroll down and click Continue.

The next section will provide you with details for installing the Cloudflare One / WARP client on your devices. For each device you will need to enter your team name, then an email address that you specified in your enrollment policy, then the authentication code sent to that email address.

You can review details at the end. Your enrolled devices should now be blocking based on your DNS policy.

Device Lock
A device could easily bypass the filter by simply disconnecting the Cloudflare One application. To prevent this, there is an option to lock the device client switch.
This cannot prevent other workarounds by a persistent user, such as uninstalling the Cloudflare One client or using a browser’s DNS settings to access a different provider via DNS over HTTPS (DoH). Other measures outside the scope of this guide are necessary to lock down these options.
From the Cloudflare One / Zero Trust dashboard, go to Team & Resources > Devices and select the Device profiles tab. There will likely be an “Onboarding Device profile” that was automatically created during the previous device enrollment. Click the 3 dots to the right of it and select Configure. Alternatively you can also configure the Default profile.

In the profile configuration, scroll down to the “Lock device client switch” option and toggle it on. Then scroll down and click Save profile.

Configure Block Page
Rather than a page load error, you may want a page to be displayed letting the user know that the website has been blocked. This can be enabled in your DNS policy.

In the Cloudflare One / Zero Trust dashboard, go to Traffic Policies > Firewall policies and edit your DNS policy.

Under the Actions and settings on the right, toggle on the switch for Modify Gateway block behavior. This will use a default block page, but it is possible to customize your own or redirect to a different URL of your choosing. Be sure to scroll to the bottom and save the changes.

Certificate Error?
The complicated part about block pages is that almost all web traffic is now encrypted with HTTPS. This includes the block page that users are redirected to. However, the block page uses a certificate signed by a private gateway CA (Certificate Authority) that is generated for your Cloudflare Zero Trust account. Since this is not a publicly trusted CA, it is not trusted by operating systems and browsers by default.

To address this, your gateway CA certificate must be uploaded to the trusted root certificate stores for your operating system and/or browser. If you are using the Cloudflare One client, it may do this for you automatically depending on your system. But in many cases it will be necessary to do this manually.
The gateway CA certificate can be downloaded from your Zero Trust account under Traffic policies > Traffic settings. Scroll to the Certificates section at the bottom. The certificate can be downloaded in .cer or .pem format.

Alternatively, you can also export the root CA certificate from your browser when the error is displayed. Once you have a copy of the certificate, which will have a name beginning with Gateway CA - Cloudflare Managed G1, you can import it to the necessary root store(s).
About the Author: